Growing Microgreens at Home: A Nutritious and Flavorful Addition to Your Meals
January 8, 2024 | by Julie Matthews

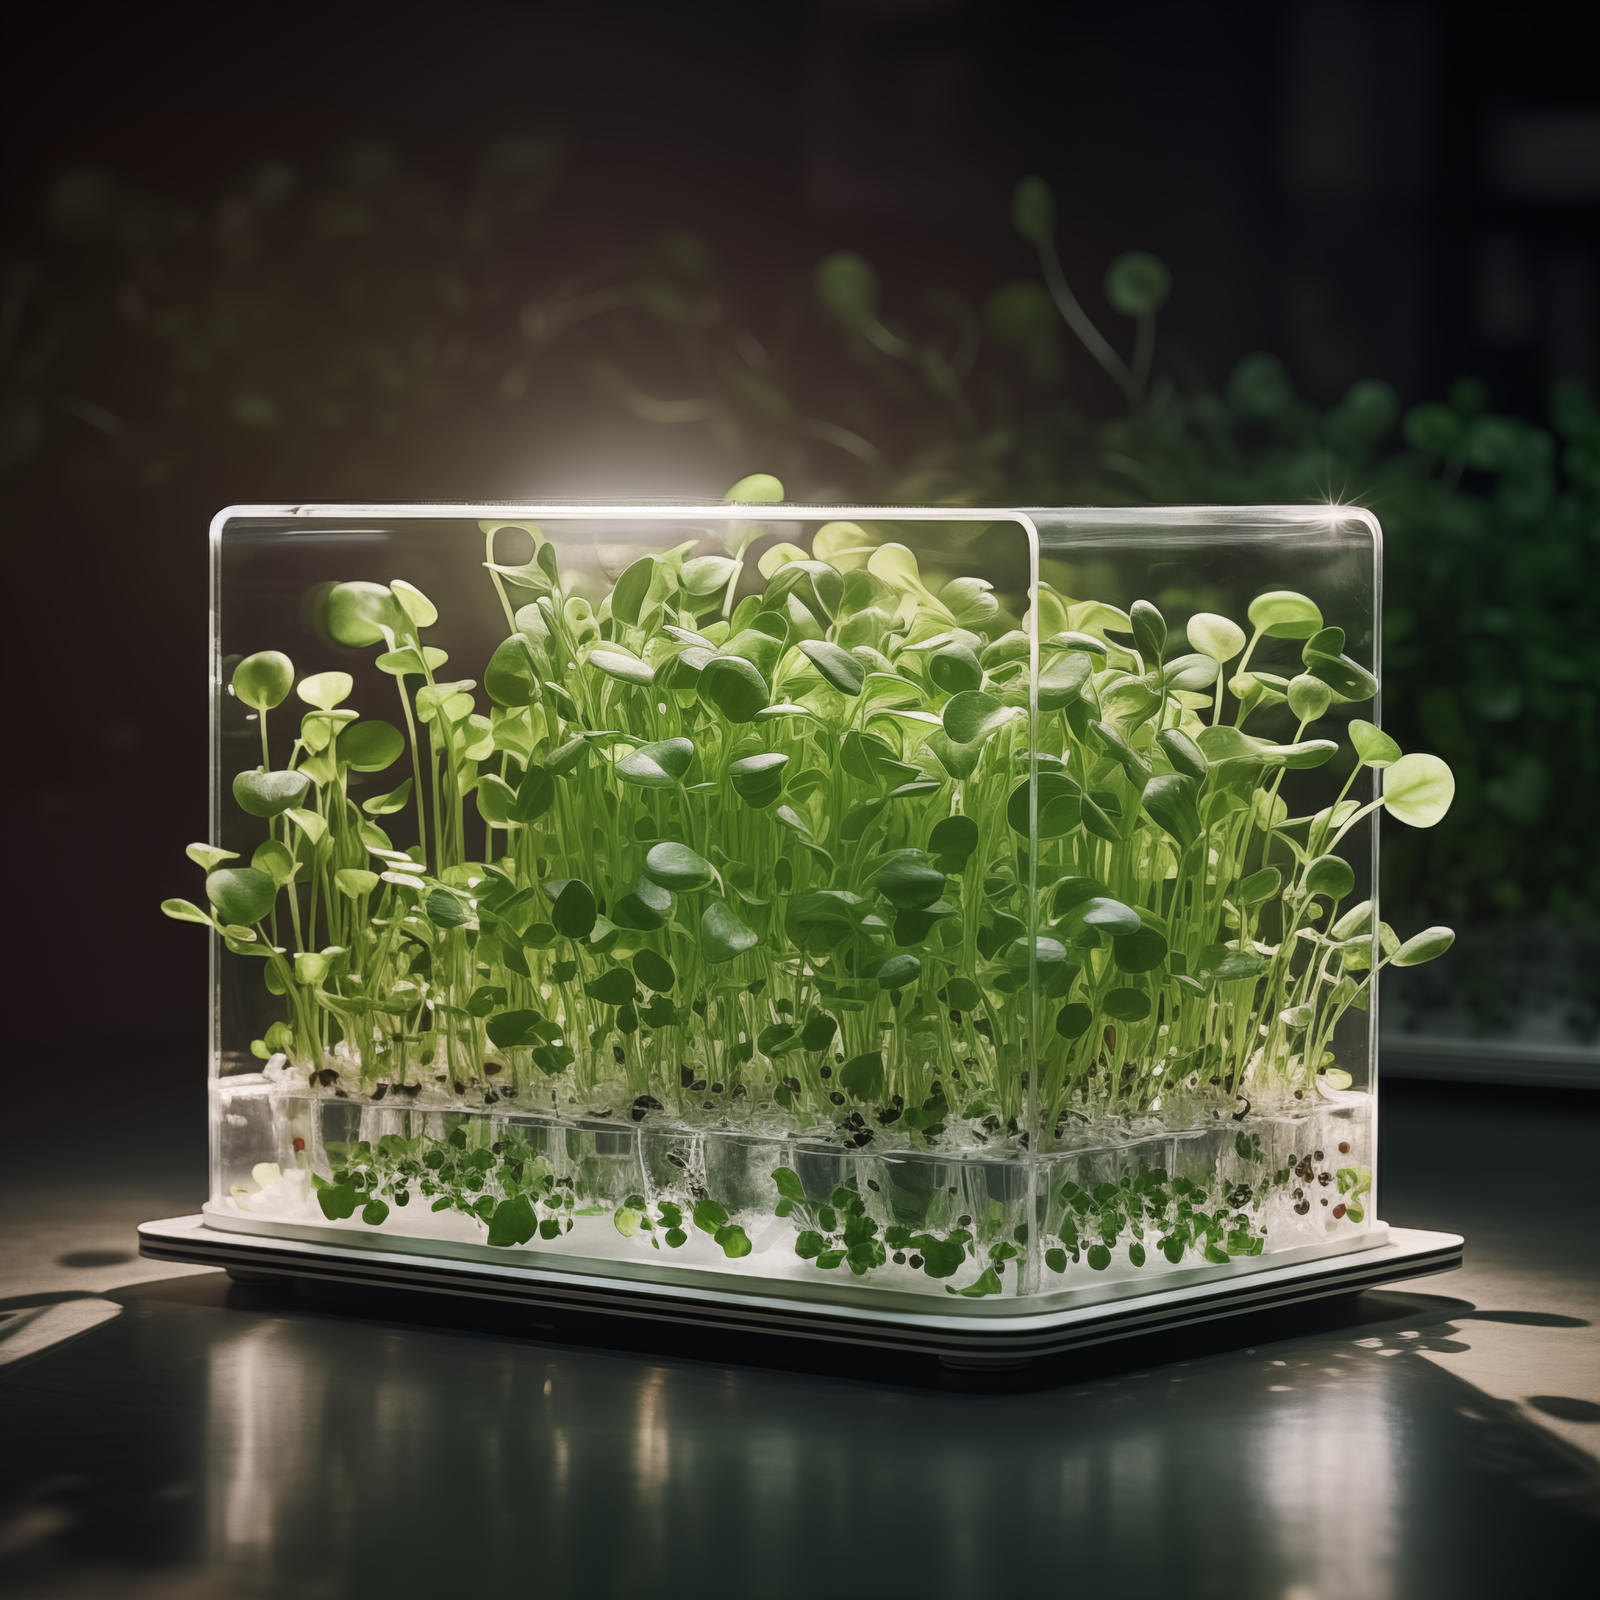
Microgreens are a delightful way to add a burst of freshness and flavor to your meals. These tiny vegetable greens, harvested just after their first true leaves have emerged, are not only visually appealing but also packed with nutrients. Whether you’re a salad lover, sandwich enthusiast, or simply looking to enhance the taste of your dishes, microgreens are a fantastic addition to your culinary repertoire.
One of the best things about microgreens is that you can easily grow them at home, even if you have limited space or gardening experience. With just a few simple steps, you can enjoy a bountiful supply of these nutritious greens right from your own kitchen.
Choosing the Right Microgreens
Before you start growing microgreens, it’s important to choose the right varieties that suit your taste preferences and growing conditions. Some popular microgreen options include arugula, broccoli, kale, radish, and sunflower. Each variety offers its own unique flavor profile and nutritional benefits.
Consider the taste you enjoy and the dishes you plan to enhance with microgreens. For example, if you love a peppery kick in your salads, arugula microgreens are a great choice. If you’re a fan of earthy flavors, try growing kale microgreens. Experiment with different varieties to discover your favorites.
Growing Microgreens: Step-by-Step Guide
1. Choose a suitable container: Look for shallow containers with drainage holes. You can use plastic trays, recycled containers, or even repurpose old baking trays. Just make sure they are clean and have good drainage to prevent waterlogging.
2. Prepare the growing medium: Fill the container with a good-quality potting mix or seed-starting mix. Avoid using garden soil as it may contain pests or diseases that can harm your microgreens. Moisten the soil slightly before sowing the seeds.
3. Sow the seeds: Sprinkle the seeds evenly over the moist soil. It’s important not to overcrowd the seeds, as they need space to grow. Gently press the seeds into the soil, ensuring good seed-to-soil contact.
4. Provide proper lighting: Microgreens thrive in bright, indirect light. Place the container near a sunny window or use artificial grow lights if natural light is limited. Avoid placing them in direct sunlight, as it can scorch the delicate greens.
5. Water regularly: Keep the soil consistently moist but not waterlogged. Use a spray bottle or a watering can with a fine nozzle to avoid disturbing the seeds. Be careful not to overwater, as it can lead to fungal diseases.
6. Harvesting: After about 7-14 days, depending on the variety, your microgreens will be ready to harvest. Look for the emergence of the first true leaves. Use a pair of clean scissors to cut the greens just above the soil line.
Enjoying Your Homegrown Microgreens
Now that you have a fresh batch of homegrown microgreens, it’s time to enjoy them in your favorite dishes. Add a handful of microgreens to your salads, sandwiches, wraps, or even as a topping for soups and omelets. Their vibrant colors and delicate flavors will elevate your meals to a whole new level.
Remember, microgreens are best consumed fresh, so harvest them as needed. They can be stored in the refrigerator for a few days, but their nutritional value and flavor are at their peak when consumed immediately after harvesting.
Growing microgreens at home is not only a rewarding experience but also a sustainable way to enjoy fresh greens year-round. It’s a great activity for both seasoned gardeners and beginners alike. So why not give it a try and embark on a journey of cultivating your own nutritious and flavorful microgreens?
Happy growing and bon appétit!
RELATED POSTS
View all

